CREATOR GUIDE
AI Mastering for Streaming: How to Balance Loudness, Clarity, and Dynamics
Streaming-ready mastering is not a contest to make a track as loud as possible. The goal is to preserve impact, clarity, and emotional contrast while preparing a clean master that translates across platforms and playback systems.
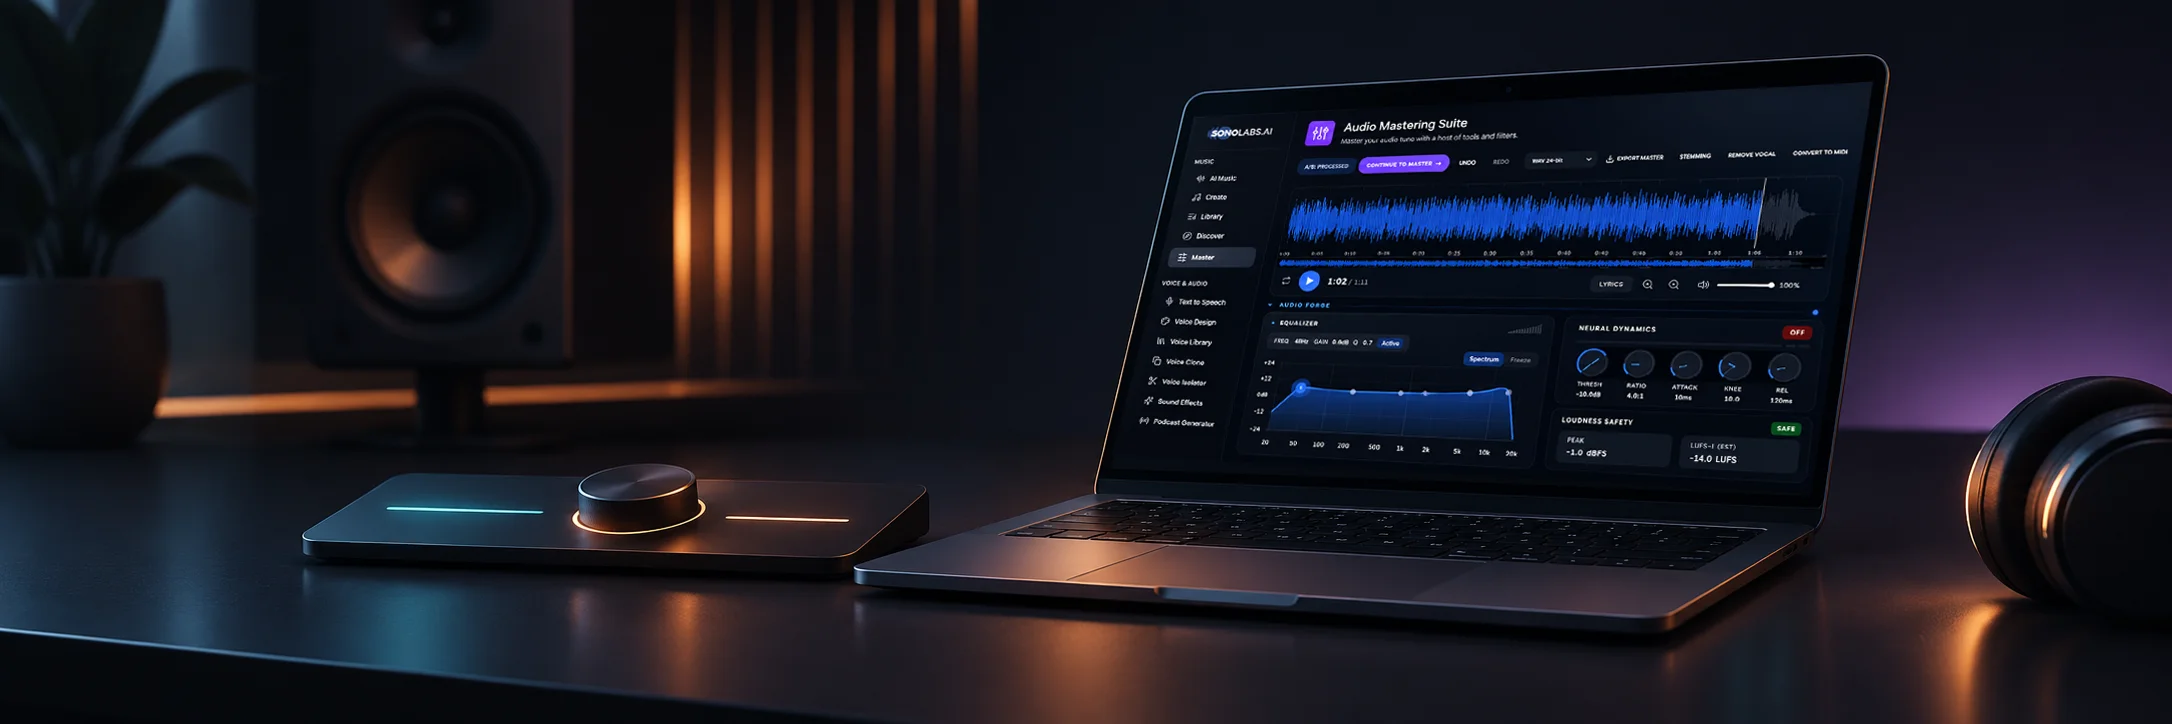
For streaming, focus on balance rather than one loudness number. Start with a clean mix, preserve punch and vocal clarity, compare masters at similar listening levels, check true peaks and distortion, and follow the current guidance of the platform you are delivering to. Spotify currently normalizes normal playback to -14 dB LUFS and recommends keeping true peak below -1 dBTP; louder masters should stay below -2 dBTP.
A track can sound impressive in your studio and still feel disappointing in a playlist. The vocal may lose definition, the bass may overwhelm smaller speakers, or the chorus may feel flat even though the master measures louder.
Successful AI mastering for streaming balances three things at once: perceived loudness, clarity, and dynamics. For creators using SonoLabs.ai, mastering should be treated as a final listening decision, not simply a way to make the waveform look bigger.
What Do Loudness, Clarity, and Dynamics Mean?
| Goal | What it means | What can go wrong |
|---|---|---|
| Loudness | How loud the track feels over time; integrated LUFS is a common measurement. | Heavy limiting can reduce punch and contrast. |
| Clarity | How easily listeners can follow vocals, bass, percussion, and melodic detail. | Excess brightness or low-mid masking can make the master tiring. |
| Dynamics | The level differences within hits, phrases, verses, and choruses. | Over-compression can make the song feel flat or smaller. |
These goals interact. More limiting may increase density but soften drum attacks. More high-frequency energy may reveal detail but also exaggerate harshness. A good master improves the whole song rather than maximizing one metric.
How Streaming Loudness Normalization Changes the Goal
Streaming normalization changes playback gain so tracks do not jump wildly in perceived volume. It does not repair clipping, distortion, weak vocal balance, or musical impact that was lost during mastering.
The practical lesson is more important than the number: forcing extra loudness can give you less punch after playback levels are matched. Judge tone, impact, and translation alongside the meter.
Also remember that normalization behavior can vary with playback settings and devices. Always check the current guidance for your release destination and distributor before final export.
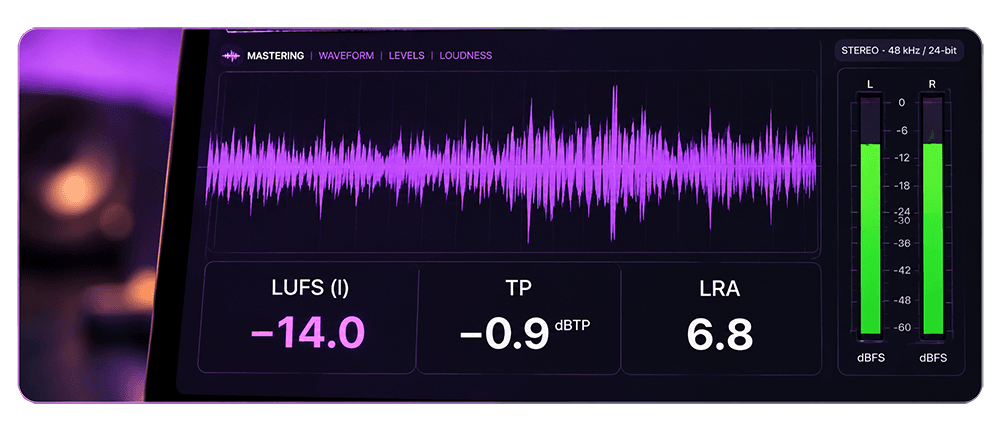
Check the waveform, integrated loudness, and true peak before export.
- Waveform: Look for clipped peaks and abrupt cuts.
- Integrated loudness: Measure LUFS across the full track.
- True peak: Check dBTP against your release destination’s guidance.
Start With a Mix Worth Mastering
Before AI mastering, identify problems that belong earlier in the process. An inconsistent lead vocal, overpowering bass line, damaged transition, or malformed generated note can become more obvious after processing.
- Listen through the entire track once without adjusting anything.
- Write down timestamps for local problems.
- Separate whole-track issues from one-off problems.
- If stems are available, fix isolated balance problems in the mix.
- If the source generation contains broken phrasing or artifacts, consider regenerating rather than mastering around them.
Mastering should refine a convincing performance, not carry responsibility for rebuilding it.
Set a Musical Target Before You Process
Choose two or three qualities that define the release. For example: close vocal, rounded bass, crisp percussion, or an expansive final chorus.
Use a reference track with a genuinely comparable arrangement and audience. A sparse piano record is not a useful loudness or density reference for a dense electronic production.
Keep the vocal close, maintain rounded bass, and preserve the lift into the final chorus.
This makes evaluation concrete. Instead of asking whether version B sounds “better,” you can ask whether it actually serves the creative target.
Preserve Clarity Without Chasing Brightness
A clear master does not need exaggerated treble. Often, removing competing energy is more useful than boosting the top end.
- Crowded lower mids can make guitars, keys, and vocals blur together.
- Excess sub-bass can dominate the balance and push limiters harder than intended.
- Over-bright cymbals or vocal consonants can make the master fatiguing.
- Broad stereo EQ is less effective than correcting a real mix conflict when the source is still editable.
After mastering, listen specifically to vocal consonants, cymbals, and sustained notes. Detail should feel easier to follow without becoming brittle.
Keep the Punch and Emotional Contrast
Compression and limiting can control peaks and increase density, but pushed too far they can remove the very contrasts that make a track engaging.
- A snare loses its initial snap.
- A bass hit makes the rest of the mix audibly dip.
- The chorus arrives without feeling larger than the verse.
- Sustained passages become tiring because everything stays at the same intensity.
Genre matters. A dense dance track and a delicate acoustic song should not be mastered to the same dynamic behavior. Preserve the movement that supports the song.
Compare Masters at Similar Listening Levels
Louder versions often win instant A/B comparisons. Reduce that bias before deciding which master is actually better.
- Level-match the original and mastered version as closely as possible.
- Compare the same 10–20 second sections.
- Check the opening, busiest chorus, quietest passage, and ending.
- Listen for vocal position, drum definition, bass control, stereo stability, and fatigue.
- Take a short break before the final decision.
If one version only sounds better because it is louder, the advantage often disappears once playback levels are matched.
Streaming Mastering Checklist Before Release
| Check | What to verify |
|---|---|
| Source | Use the highest-quality source available and keep an untouched original. |
| Artifacts | No clicks, broken transitions, clipped words, or generation artifacts. |
| Loudness | Measure integrated loudness, but do not treat one LUFS value as a universal requirement. |
| True peak | Leave enough headroom for the destination and encoding path. |
| Dynamics | Choruses still lift; drums and transients retain useful impact. |
| Translation | Check headphones, ordinary speakers, and a phone. |
| File ending | The intro starts cleanly and the final decay is complete. |
| Delivery | Confirm current distributor and platform requirements before upload. |
Frequently Asked Questions
What is AI mastering for streaming?
AI mastering uses automated processing to refine a finished mix for release. Depending on the service, it may adjust overall tone, dynamics, stereo balance, and loudness. The creator should still evaluate the result by listening and measuring.
Does every streaming master need to be -14 LUFS?
No. -14 LUFS is a playback-normalization reference used by Spotify for normal listening, not a universal submission target for every platform or genre. Choose the musical balance first, then check the current guidance for each release destination.
What LUFS level does Spotify use?
Spotify currently normalizes normal playback to -14 dB LUFS. Premium listeners can use other playback normalization settings, so the exact playback behavior can vary.
Can AI mastering fix unclear vocals?
It may improve overall tonal balance, but a buried vocal usually needs a mix adjustment. Distorted words, unnatural phrasing, or generation artifacts are better corrected in the source.
Why can a louder master sound less powerful?
Heavy limiting can reduce transient impact and musical contrast. Once two versions are compared at similar listening levels, a more dynamic master can feel punchier even if its raw level is lower.
What should I check besides LUFS?
Check true peak, audible distortion, vocal intelligibility, bass definition, transient punch, stereo stability, transitions, listening fatigue, and whether the export contains the complete beginning and ending.
How do I know a streaming master is ready?
Compare it with the original and suitable references at similar playback levels. If it preserves the song’s character, translates across common devices, has no obvious technical defects, and meets delivery requirements, it is ready for release.
Master for the Song, Not the Meter
Streaming platforms make loudness more consistent at playback, which makes musical decisions more important, not less. A strong master keeps the vocal understandable, the low end controlled, the chorus alive, and the dynamics appropriate for the genre.
Use SonoLabs.ai mastering as the final stage of a clean workflow: generate, edit, balance, compare, master, and then judge the finished result in the context where listeners will actually hear it.
Create → Finish with SonoLabs.ai
Start with a strong source, protect the character of the track, and use mastering to refine the final presentation rather than chase loudness for its own sake.
Finish your track with Forge